Where I sew

Monday, July 14, 2014


Where I sew - craft room

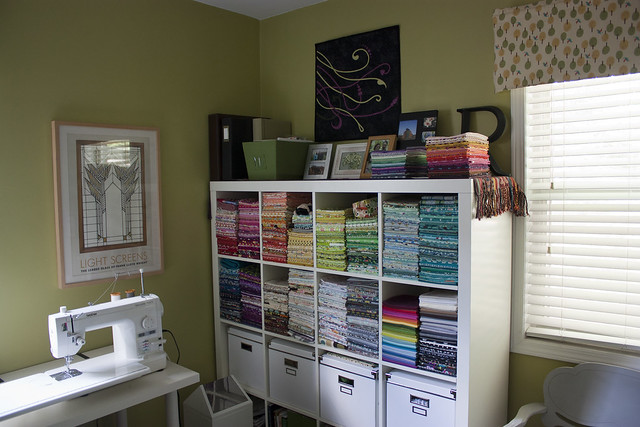
My office slowly changes as hobbies of mine ebb and flow (here it is in 2010). Right now I'm super into quilting (and cross stitching), so most of my space is taken up by fabric.
Where I sew - craft room

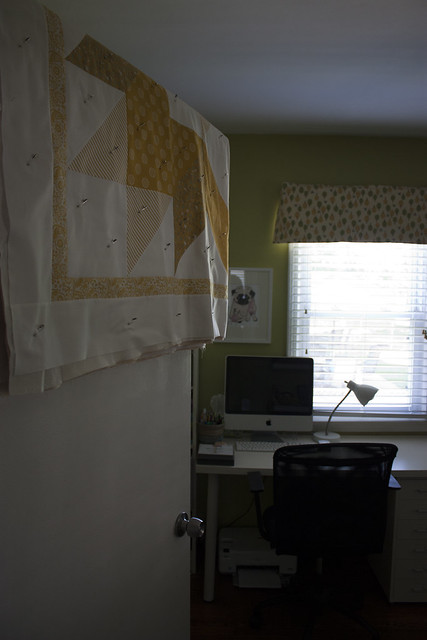
As you walk in the door (I hang basted quilts on my door while they're in the queue to be quilted), the wall to the left has photos from our trip to Iceland and the beloved sheep we saw while visiting. Behind the door I store whichever sewing machine I'm not currently using. I switch between a super-fast straight stitch Brother Nouvelle 1500s that I purchased used from a friend last fall and my trusty Janome 6260QC that I've had since 2006.
Where I sew - craft room

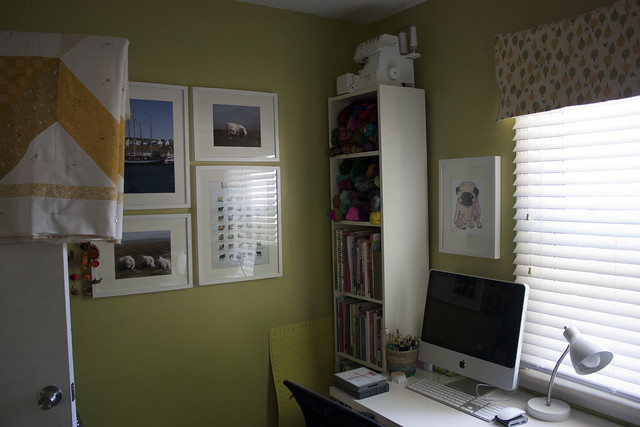
Straight ahead is a tall thin Billy shelf that holds my serger, yarn, craft books and binders with printed knitting and sewing patterns. To the left of the shelf I store my cutting mat and large rulers. My desktop computer sits on one side of my craft table (printer and shredder below). The Knitting pug print is from African Grey on Etsy.
Where I sew - craft room

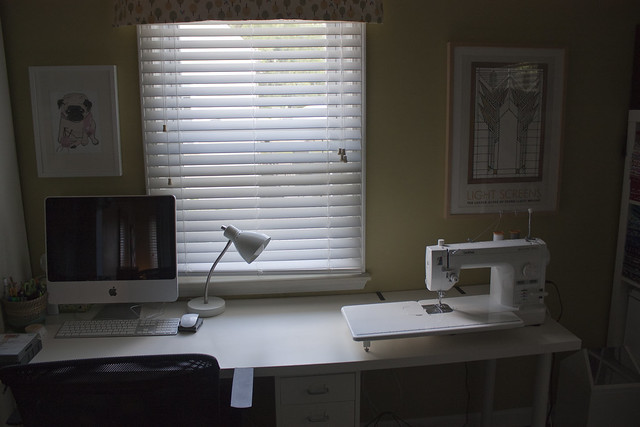
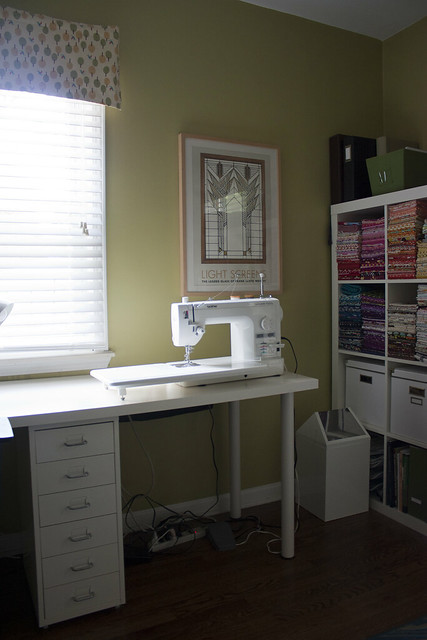
Under my table I have a metal IKEA rolling cart that holds my most used sewing notions in the top two drawers (and my nail polish collection in the bottom four...eek). The right side of the table is used for quilting and I have a handy trash can within arm's length while I sew.
Where I sew - craft room


Where I sew - craft room

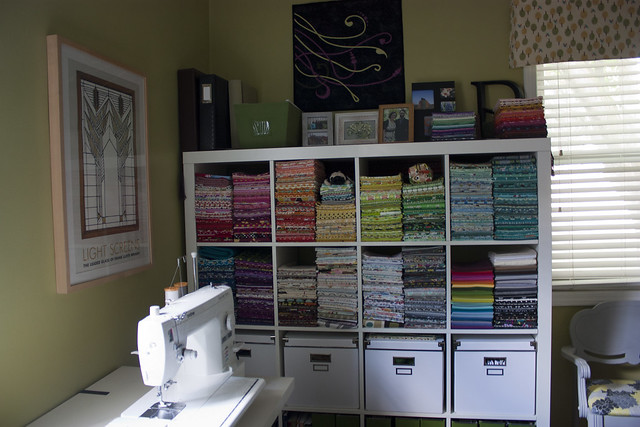
My IKEA Expedit is my favorite storage solution. Right now I'm using the top 8 cubes for fabric storage. 2 of the white boxes hold sweater quantities of yarn, one holds quilting and apparel patterns and one holds my fabric scraps. The bottom row holds mostly sheet music (playing the flute is one of my longest running hobbies). On top of the shelf I have several photo albums, a bin that holds stationery, and stacks of fabric for future quilts that I let sit to percolate.
Where I sew - craft room

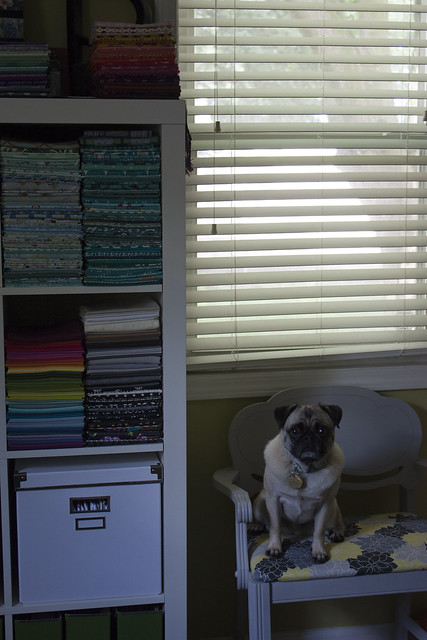
My mom refurbished the chair below the window and now Koko and Nuku Nuku take turns watching me work inside or watching squirrels and birds outside the window from the seat.
Where I sew - craft room

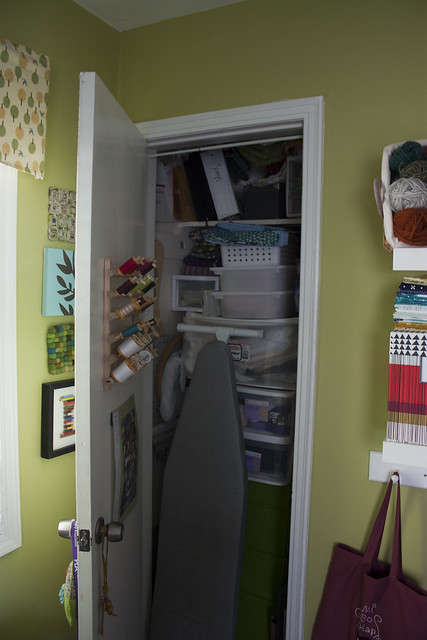
The closet is the big catch all. I have crammed as much stuff as possible in here. I'm never happy with how I organize this, but I never want to do a total redo of this spot, so I rearrange this two or three times a year. Right now it holds thread, apparel fabric and quilt back fabric, batting, embroidery thread, hoops and fabric, knitting needles, my iron/ironing board/starch, quilting templates, quilts in progress, and random notions (ribbons, zippers,buttons, etc.)
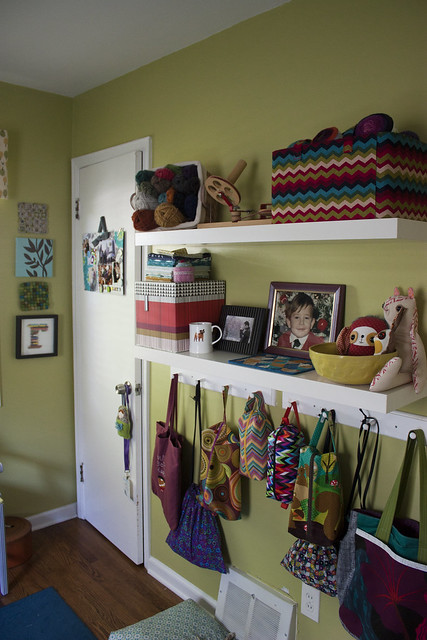
Where I sew - craft room

The final spot in the room holds more yarn and my ball winder, two favorite pictures of Jon, and some softies I've collected from Etsy or craft sales. Right below the shelf, I have pegs that hold project bags for knitting and cross stitching.

I'm thankful this room is so small (about 9' x 12') because I don't want to turn into any more of a craft supply hoarder than I already am. I try to keep all of my belongings in here and purge when I run out of room. If I could have a little bit more space in here, I would have a counter height cutting table. Right now I use our kitchen peninsula to cut fabric. I love working in here. It's right next to Jon's office so we listen to music together or chat while we're working on our respective projects.
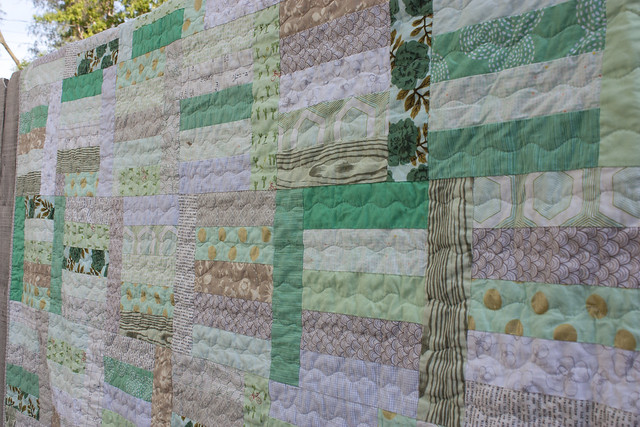
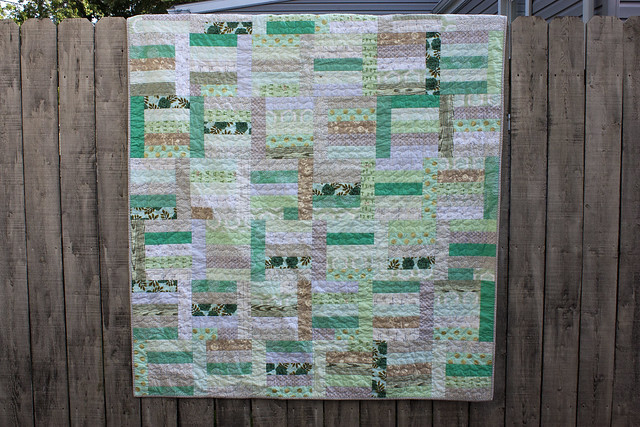
Minty goodness

Monday, June 9, 2014

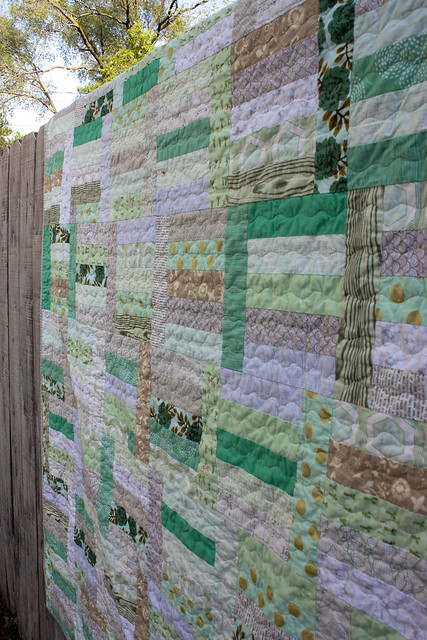
Minty goodness from Sunday Morning Quilts

I pulled together these mint green and gold metallic fabrics after being inspired by this quilt by Rita at Red Pepper Quilts.

Minty goodness from Sunday Morning Quilts 

The pattern is from Sunday Morning Quilts. I downsized the pattern to be 6 columns by 7 rows to turn it into a generous throw-sized quilt (60"x70").

Minty goodness from Sunday Morning Quilts 

Because neither of my sewing machines has the ability to do a large, wavy zig zag stitch (sometimes known as the serpentine stitch), I used the free motion foot to free-hand the wavy lines (thanks to Amanda Jean for the tip!). This was the quickest I think I've ever quilted a quilt (about 45 minutes) and I used less than one bobbin for the whole top. The quilting is not quite as dense as I usually do, but I'm a fan of the vintage look it gives, especially with the fabric combination I used.

Minty goodness from Sunday Morning Quilts

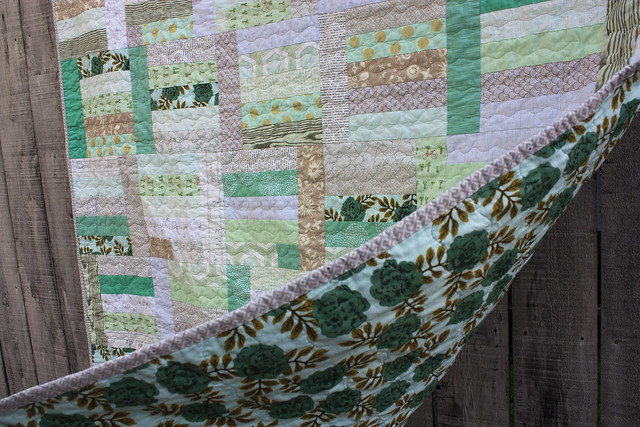
The Juliana Horner rose backing fabric is one of my favorite prints. Both this and her orange print (used as a backing on my Rosalie quilt) have drawn me to use more oranges and mint greens this year.

This quilt is a housewarming gift and will be going to its new home soon!

Single Girl Quilt

Saturday, May 24, 2014

Single Girl Quilt

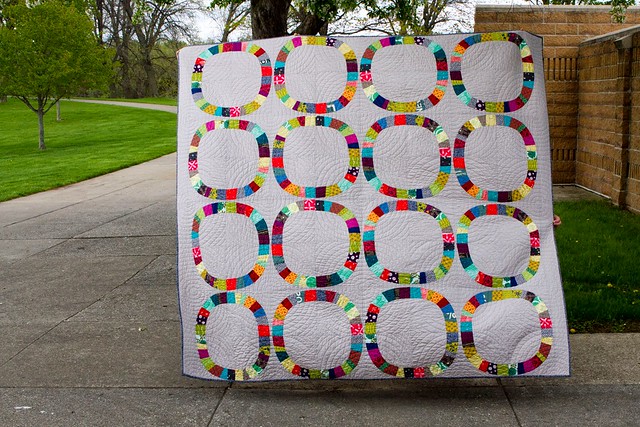
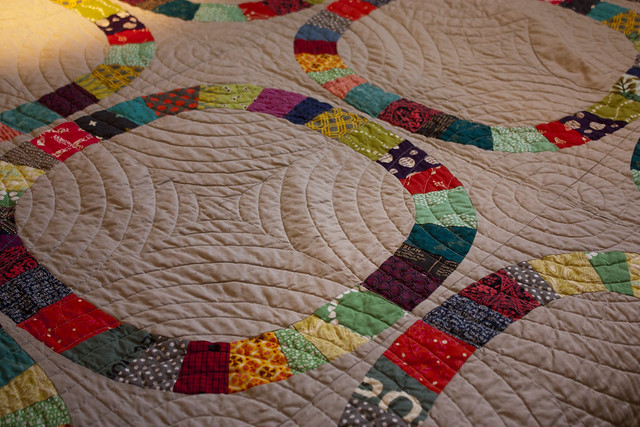
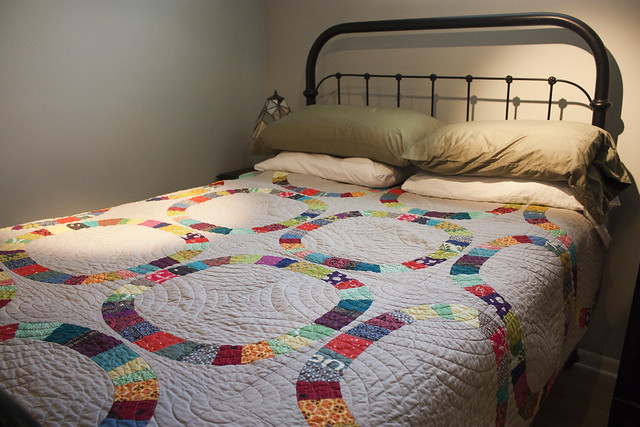
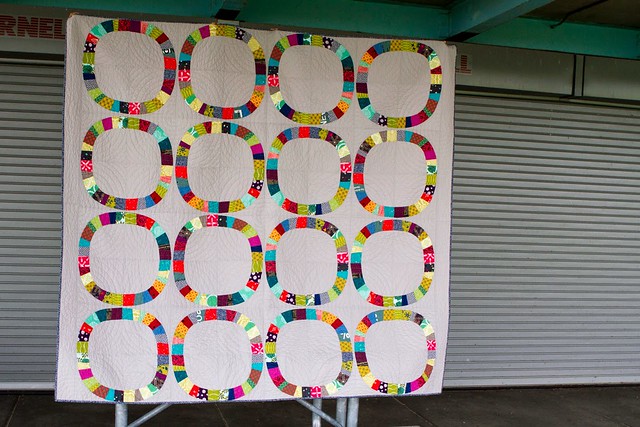
Denyse Schmidt's Single Girl quilt has been on my bucket list ever since it first debuted. The curves always intimidated me, so it kept moving to the bottom of my to-do list. When I finally got comfortable with curves while sewing the Glam Clam Quilt, I had more confidence to tackle this project.

Single Girl Fabric Pull

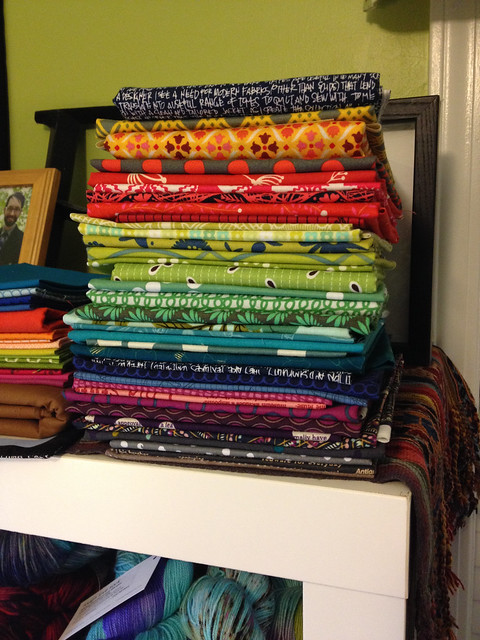
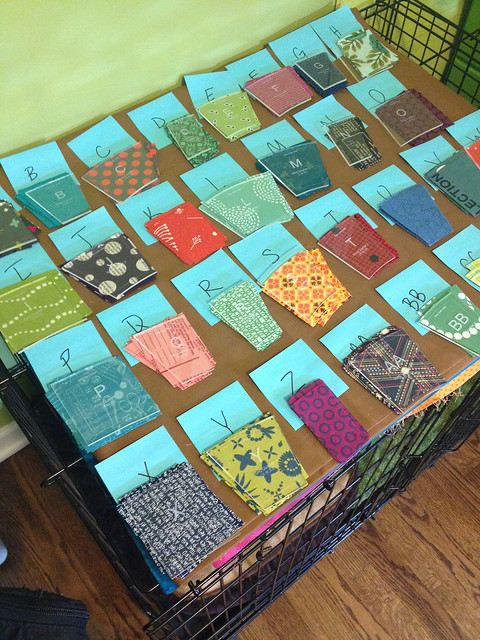
I pulled together an assorted rainbow of prints and paired them with a Moda Bella Solid grey. The biggest timesaver for this project was purchasing a set of template plastics from Custom Plastics on Etsy. These templates made the cutting process so simple and were worth the money.

Single Girl Fabric Pieces

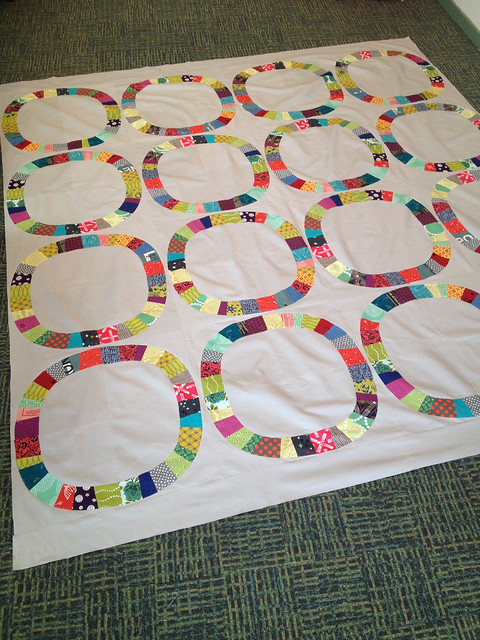
I pieced this top during the Ann Arbor Modern Quilt Guild retreat in January. It was super tedious to piece each block and I was thankful for the great company because it helped me to plow through the task at hand! 

Single girl quilt top

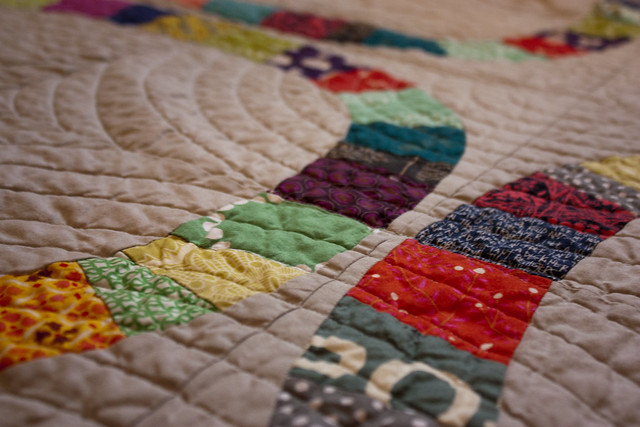
At the end of the retreat, I sent it home with Kathy Koch of Threadbear Quilting for longarm quilting. She is so great to work with and ended up creating a custom quilting pattern based on the hand quilting template included in the Single Girl pattern. When I first saw the finished quilting I was in shock at how amazing it looked. 

Single Girl Binding

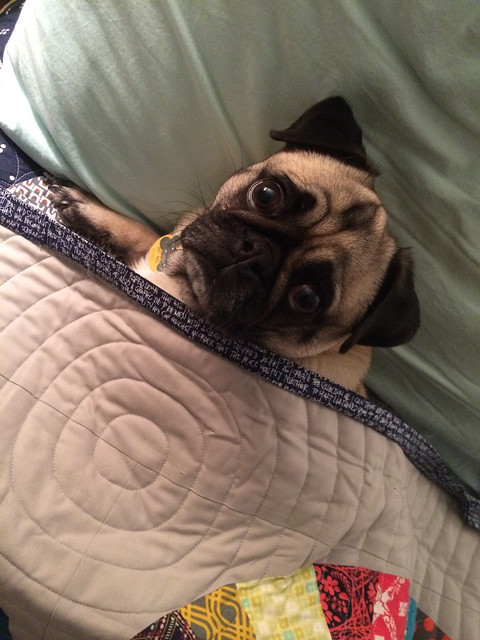
My favorite detail on the quilt is the navy architextures text print on the binding. Koko also approves!


Single Girl quilting

Single Girl quilting

Single Girl Quilt

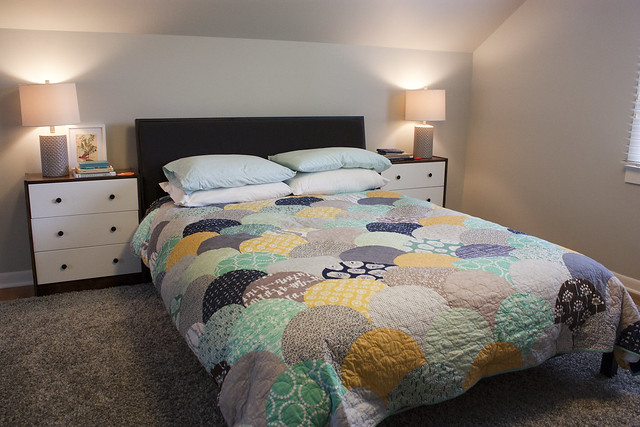
This quilt is happily living in our guest room on this vintage bed frame my mom found while thrifting. It's so nice to be able to display these large scale quilts in our home.

Single Girl Quilt

Blogger's Quilt Festival: Glam Clam Quilt

Saturday, May 17, 2014


Glam Clam Quilt

Here's my large quilt entry for Amy's Blogger's Quilt Festival.

I went through a quilting dry spell for a few years and I was finally brought back into the fold after:
1. Attending the AQS Quilt Show in Grand Rapids in August 2013
2. Visiting Pink Castle Fabrics for the first time - a local fabric shop filled with fabrics that I love
and 3. Discovering this amazing Glam Clam pattern.

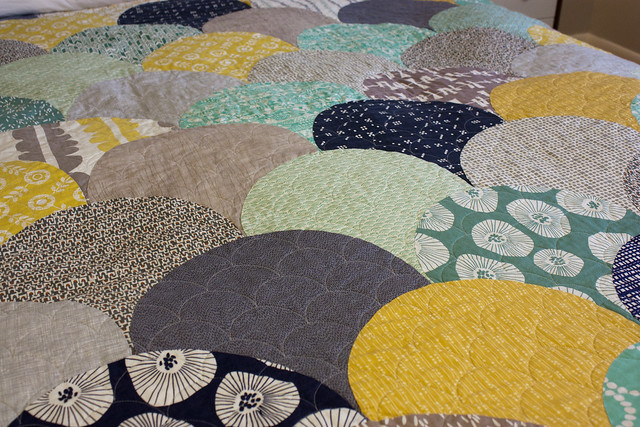
Glam Clam Quilt Closeup

This quilt came together because of the inspiration I saw in Grand Rapids, the awesome opportunity to actually match fabrics together in person and overcoming my fear of curved piecing. Latifah has a great video tutorial on piecing curves without pins here. Her patten is genius and was a great way to reintroduce myself to the world of quilting and fabric selection. I'm so glad I was able to find such great inspiration to get me excited by this hobby again!

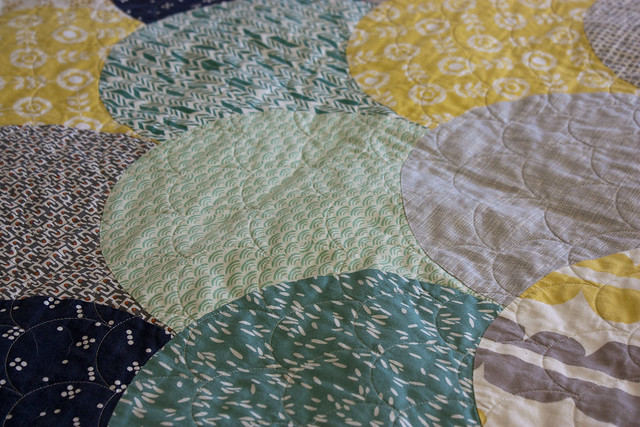
Glam Clam Quilt closeup

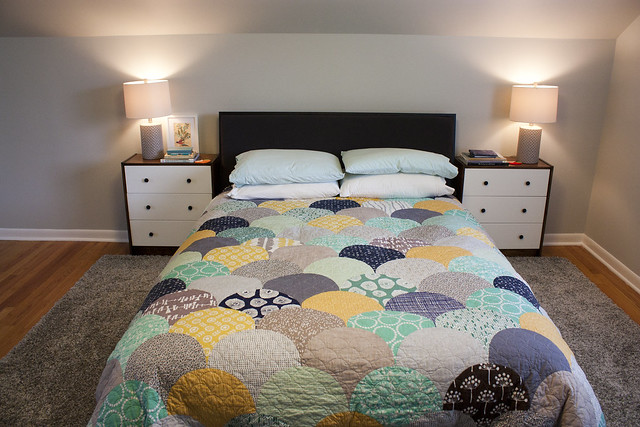
The quilt was quilted with 2" clams by Kathy Koch of Threadbear Quilting. She is wonderful to work with and always has great ideas for enhancing the quilts I make with her quilting skills.

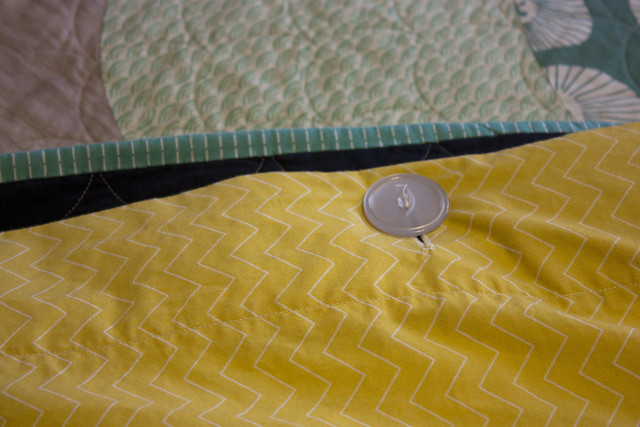
Glam Clam Quilt Duvet closeup

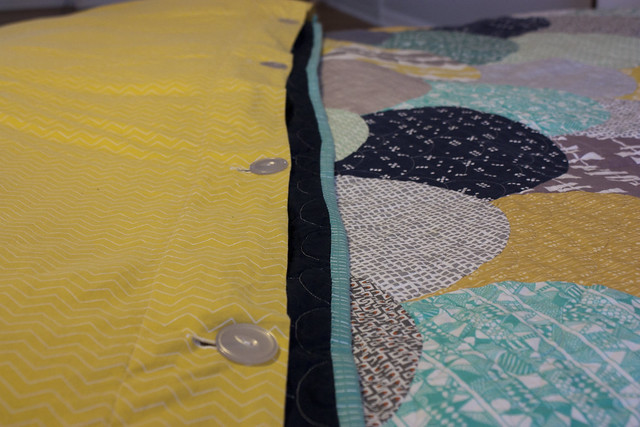
Because this is a queen-sized bed quilt intended to keep us warm during the coldest of Michigan winters, I made this quilt into a duvet. Liz at Lady Harvatine first gave me the inspiration with the quilt duvet she made for her sister. Before binding the quilt, I pieced another solid quilt back with a finished edge on the short side and 6 button holes. I attached the binding around the quilt top, batting, original backing, and duvet backing, leaving an open side on the bottom. Once the backing was attached, I sewed the buttons to the original three layers of the quilt. In the winter, we add our down comforter, and when summer comes, we can remove the comforter and have a lighter weight quilt for our bed.


Glam Clam Quilt Duvet closeup

To see a gallery of the other quilts I've made, click on this link, or click on the Quilts page at the top of my blog.


Glam Clam Quilt

Modern Cross Stitch Pattern Round Up

Friday, May 9, 2014


Over the past year, glimpses of cute cross stitch designs on Instagram have slowly been luring me into trying a new hobby. 

For some reason, cross stitch never really appealed to me. I think I was intimidated by the tiny grids and exact patterns, not to mention the thought of starting another craft stash. Now that adorable designs are more plentiful, it was harder and harder for me to resist.

I finally caved a few months ago and I'm completely smitten. I'm drawn to the thrill of slowly seeing a pattern emerge and being able to mindfully finish a design stitch by stitch (kind of like colorwork knitting). Being able to buy a pattern and supplies to finish a project for under $20-30 isn't too bad either!

I've been scouring the web for patterns and here are some of my favorite designers and shops:


Frosted Pumpkin Stitchery   
The company that started it all for me. I'm anxiously awaiting their new Cherry Blossom design. I'm not a Halloween fan, but their adorable Frankenstein in the Mysterious Halloween Town Club is calling my name. 


I just started her Pretty Little Tokyo design. Her color sense is impeccable and designs are adorable. I'd love to stitch up every single one of her designs.

*  Voyage  *  Pretty Little Amsterdam  *  Forest  * 


Gera designs from Superbuzzy - Flickr group  
Adorably cute Japanese fairy tale and gnome designs


I heart their kitchen gadgets and cuckoo clock designs.


Cute character collections from your favorite television shows. The IT Crowd design was my first ever cross stitch project


Lots of cute, smaller designs.


Cross Stitch project supplies
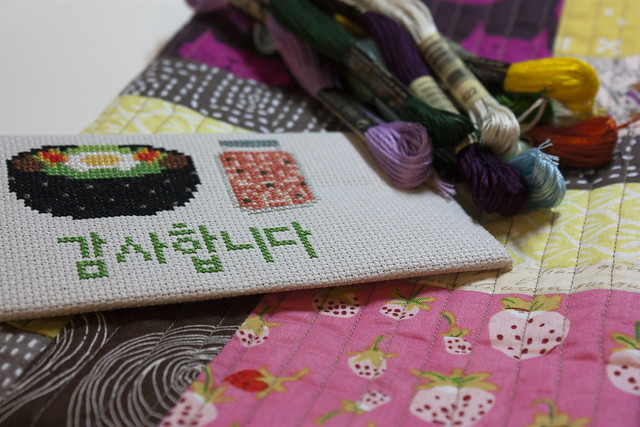
I combined the BibimbapKimchi and Korean Thank You designs to make a thank you card cover.


I'm not sure if I'd ever be able to stitch up one of these Bad Grammar Series designs due to OCD, but I am such a fan!


*  Your Awesome *   Your Welcome    *  Welcome to Are Home  * 


Cute and vintage-style patterns from a variety of designers


I check these out digitally from my library's Zinio magazine collection (check to see if your local library subscribes!). I've had the best time poring through the last 10 issues of designs. Lots of great contemporary designs in all sizes. Each issue has a basic getting started guide with great pictures.


I discovered this British designer through Cross Stitcher magazine and she's my new favorite. Her typography, pretty colors and fresh designs are so adorable. I want to make one of each of her designs.


I've started a Cross Stitch board on Pinterest for more inspiration. I'd love to find more great designs. Please comment if you have any favorites (or have a pinterest board you'd love to share)!


Cross Stitch Project Bag

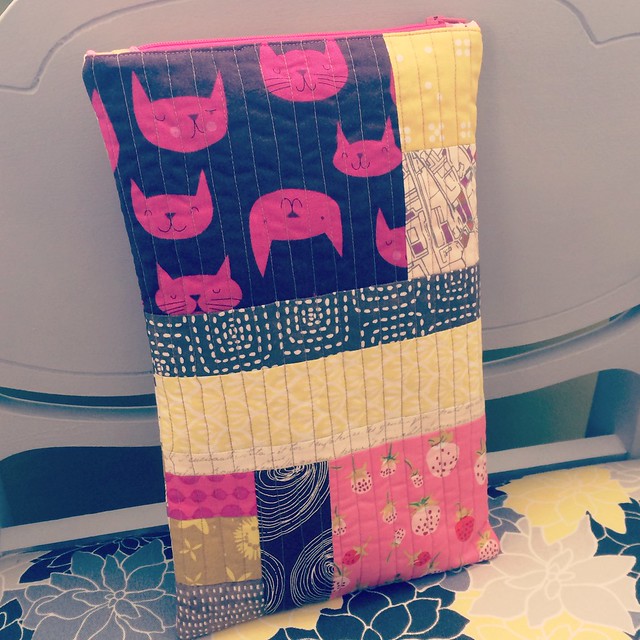
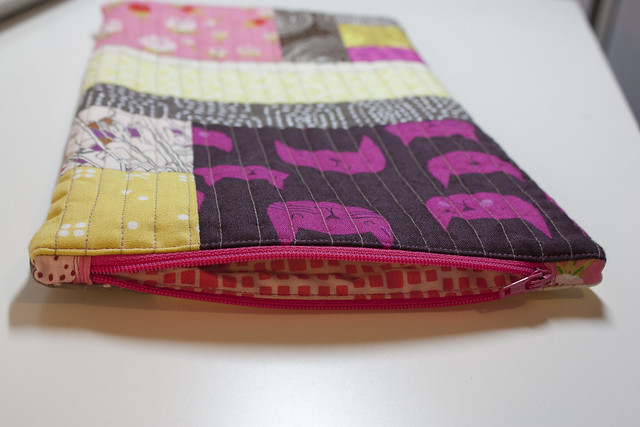
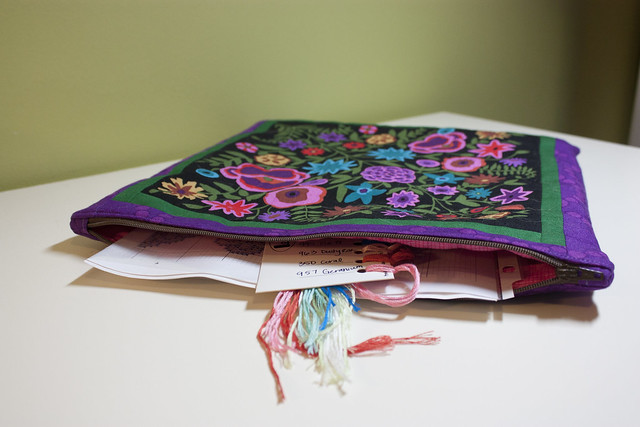
And, last but not least, I put together two zipper pouches to hold cross stitch projects. I have been trying for years and years to make a pouch with a crisp right angle next to each zipper. This tutorial from Jedi Craft Girl finally clicked for me when she pointed out that you should clip the zipper next to the seam before flipping right side out. I now have 2 new pouches with beautiful corners!

Cross Stitch Project Bag

Cross Stitch Project Bag


Grumpy Cat Pillow

Thursday, May 8, 2014


Grumpy Cat Pillow

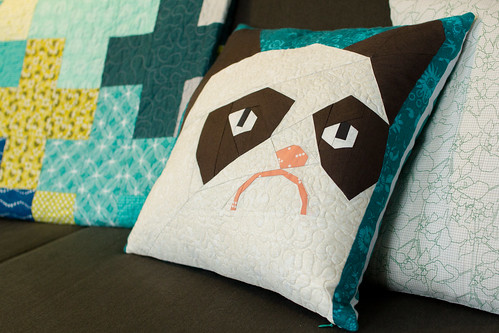
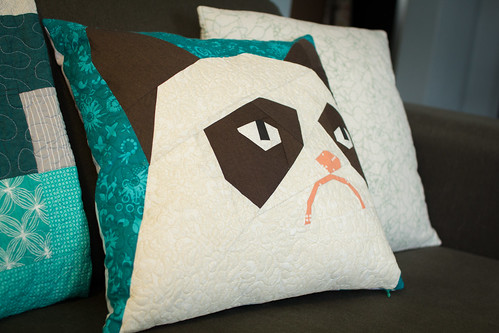
When Sarah and her husband bought a new house this winter, I knew I had to make her a Grumpy Cat pillow for her new and improved sewing room. It was a brutal winter and Grumpy Cat is the perfect spokescat for the Polar Vortex.


Grumpy Cat Pillow eye detail

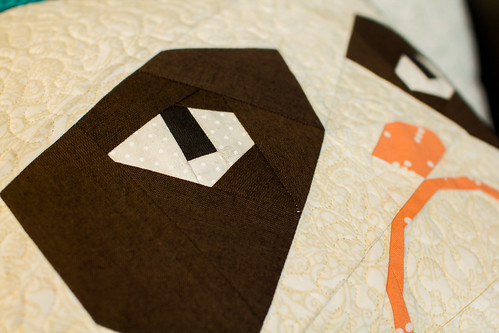
This paper-pieced Grumpy Cat pattern is from Sew What Sherlock (who also made the adorable llama pattern. My version here). My only change was to use peach for the nose and mouth rather than black.

Grumpy Cat Pillow

I quilted the cream parts with cream thread and the teal parts with teal thread and left the eyes and ears alone (which you should also do with real cats!).


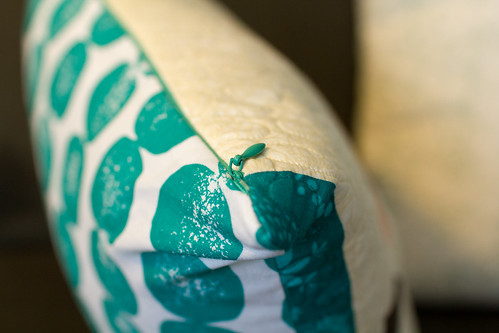
Pillow Backing

I backed it with this Lotta Jansdotter Mormor print. I love this print so much that I had to hoard another yard after using up this fat quarter!

Invisible Zipper

To finish off the pillow, I installed my first invisible zipper, thanks to a wonderful tutorial by Sew Katie Did.

I'm so glad I gave paper piecing a try last fall. It's such an easy way to follow a pattern precisely and make all seams and edges line up. I'm on the lookout for more adorable patterns (like this Totoro pattern) to turn into pillows.
Penny Patch Quilt

Tuesday, April 29, 2014

Penny Patch Quilt

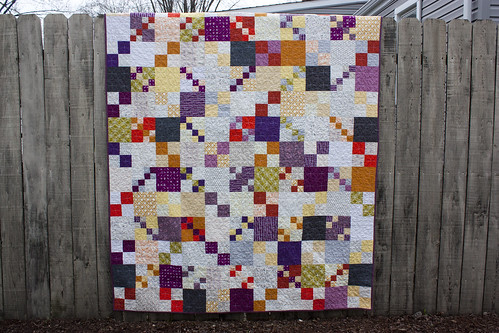
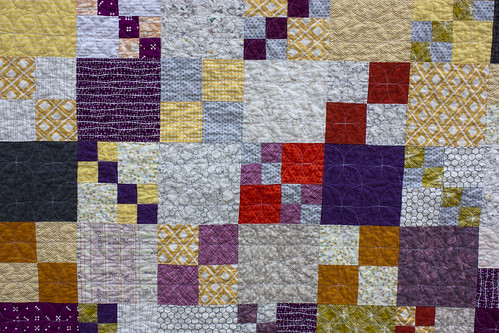
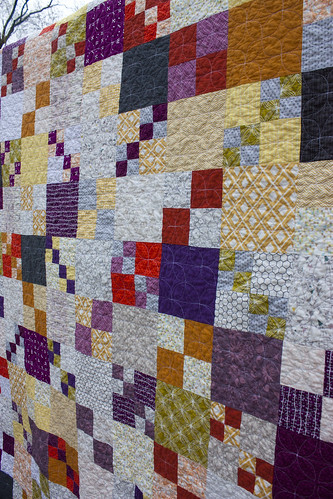
Six months and 12 bobbins of quilting thread later, the Penny Patch Quilt is finally finished! I made this twin-sized (66" x 90") quilt closely following the instructions on Stitched in Color's Penny Patch Quilt Along.
  Penny patch - piecing

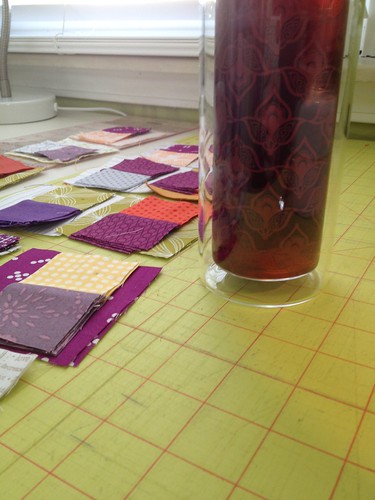
I spent an afternoon selecting, cutting and pairing fabric for each block back in October and then finally started piecing the top in January. I really like the mix of fabrics I chose for this, especially because I'm on a purple kick right now.

Penny Patch Quilt - Basting

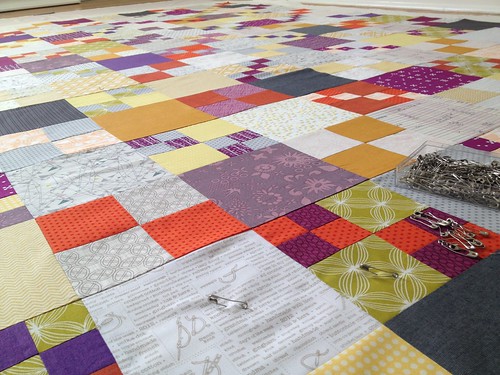
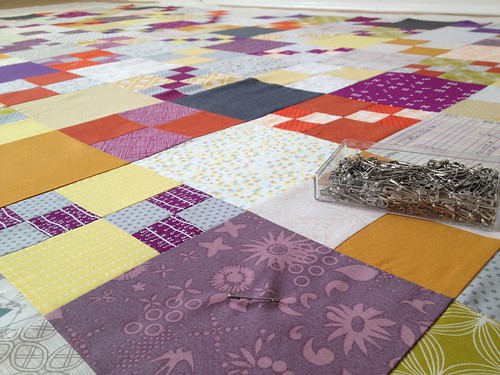
After the quilt was basted, it hung on my sewing room door for 2 months while I practiced doodling dogwood quilting during meetings and on phone calls.

Penny Patch Quilt - Basting

Penny Patch - dogwood quilting

Once the pattern finally clicked for me, it took a few weeks to pull out the big guns and attempt using my sewing machine. A week ago,  I finally took the plunge and quilted the first two lines on the quilt. It wasn't as bad as I thought it would be and I definitely shouldn't have procrastinated so long on this!

Penny Patch Quilt

My dogwoods aren't anywhere near perfect and not one looks alike or is uniform in size, but I'm pleased with the overall look and I'm glad I reached outside of my comfort zone. My shoulders are still sore after all of the maneuvering, so it will be a while before I attempt a large scale free motion quilting job again.


Penny Patch Quilt

I modified the pattern in the tutorial a bit by adding alternating rows of four-patch blocks. The tutorial pattern used a checkerboard pattern of single square and penny patch blocks, but I added the four-patch blocks to try and avoid some of the stair-stepping patterns that you see above. If I were to make this quilt again or offer suggestions to other quilters interested in this pattern, I would use a selection of medium tone fabrics rather than a mix of low-volume and high-volume fabrics. I think it would lend to a more vintage look and avoid the stair step pops of high intensity colors. It's not as noticeable up close, but the "steps" do pop at a distance.


Penny Patch Quilt

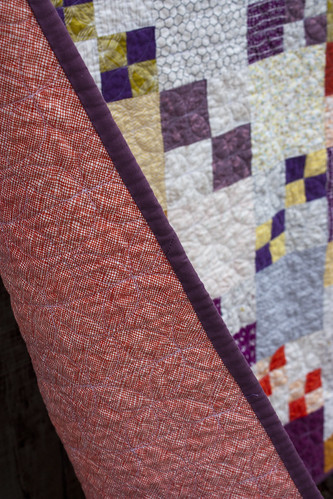
It's backed with Botanics cross hatch 108" wide fabric from Pink Castle Fabrics (a dream for someone who puts off the backing selection and construction until the last minute!)

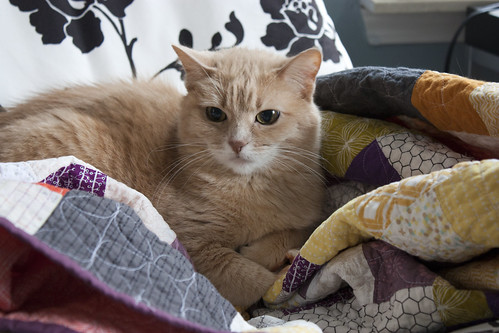
As soon as I pulled it out of the dryer and took pictures, I tossed the quilt on a chair. When I turned around, I found Nuku Nuku had already claimed her spot. I'm glad she loves this one as much as I do!

Nuku Nuku approves

Blogger Template created by Just Blog It