My college roommate, Emily, is expecting her first kid in September, and I've been planning on things to make for this this baby girl ever since I first found out she was expecting. After all, making baby stuff means getting to work with cute prints and small projects, so it's easy to go a little bit overboard.
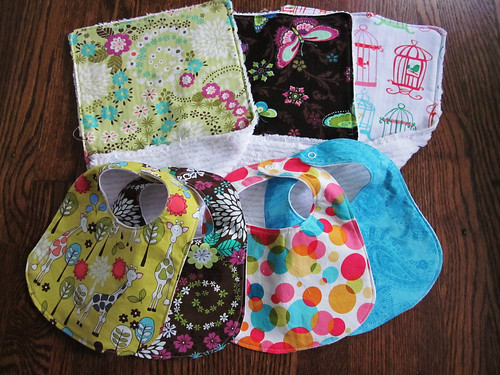
...I made some bibs and burp rags. The bibs are backed with white flannel and the burp rags are quilting cotton backed with chenille and are 12"x18". I used the same fabrics that I used for
Chikage's baby gifts, and was able to get one bib and one burp rag out of a fat quarter (with a small scrap left over).
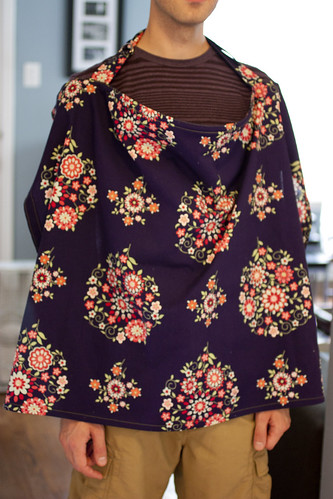
...I sewed a nursing cover (tutorial
here). My fabulous male nursing cover model is back in action! I finished 20 minutes before Emily stopped by for a little visit. Thank goodness I had the fabric cut out in advance or I never would have finished it in time.
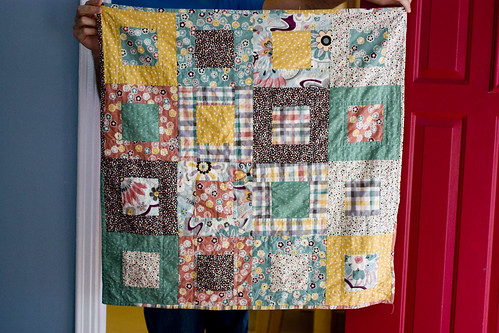
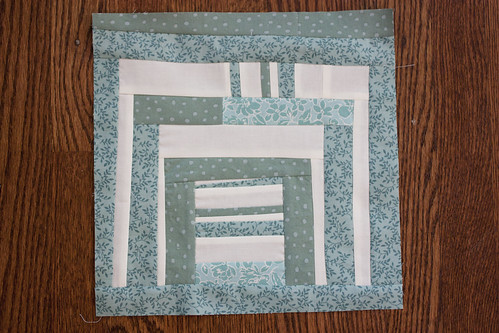
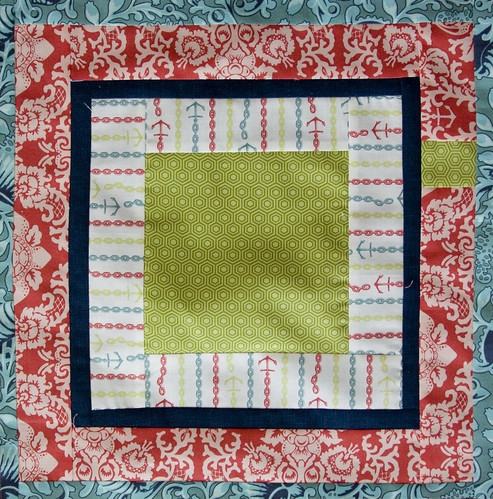
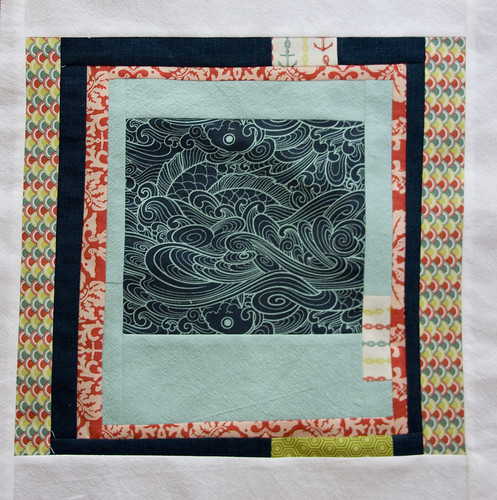
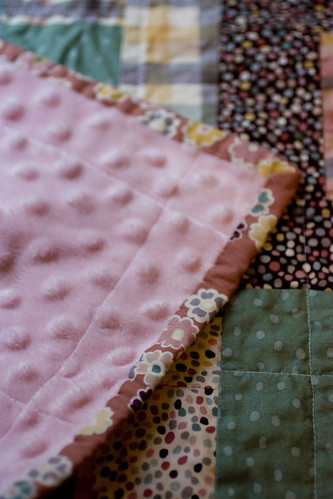
...and I made this quilt/blanket. The fabric for this is the
Porcelina line by Michelle D'Amore from Marcus Fabrics. I actually purchased this before Emily found out that she was having a girl because it totally screamed "Emily's daughter," so I was really happy that she found out she was having a girl so I'd have a chance to use it.
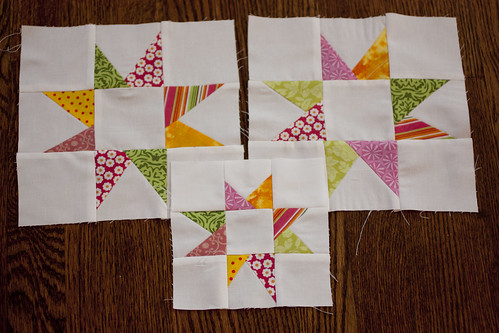
I stalled making the quilt because I was trying to come up with the perfect pattern to use for the quilt. I had toyed with using a
raw edge circle applique pattern, but raw edge circles are a bit too unfinished for Emily. I was going to do a simple charm square patchwork, but wanted to step up the patchwork for this. Then I narrowed down the piecing options to a disappearing nine patch or a box in a box, which I ended up using. I went with the box in a box because the dimensions in
this tutorial created the right size square for the size backing I was using.
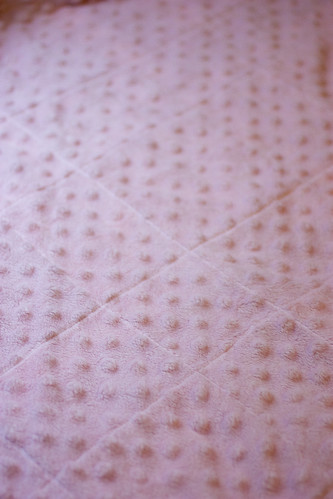
For the backing, I used a 32" x 35" piece of
minky fabric. This is my first time working with minky and I was afraid that it would pucker or bunch weird when quilting because it is so stretchy. Based on the recommendation of the quilt store employee, I stretched it out on the floor, taped it down and applied a generous amount of spray baste. Then, I laid the patchwork top on the minky and pressed it down with my hands. I quilted it with a walking foot in the same way that I quilt normal quilts with batting and a fabric backing. I tried to minimize the amount of quilting I did, because I didn't want to pull on the backing too much.
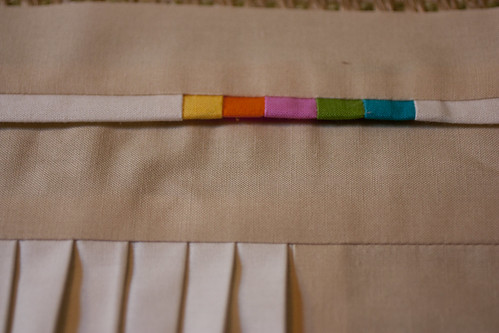
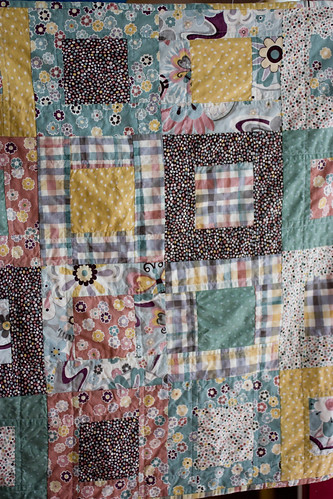
I made a scrappy patchwork binding with each of the fabrics included in the quilt and attached the binding using
this technique.
The finished blanket has a really light drape to it and the backing is so soft and cuddly. Now I want to make a grown up sized blanket with a minky backing like this.