Penny Patch Quilt

Tuesday, April 29, 2014

Penny Patch Quilt

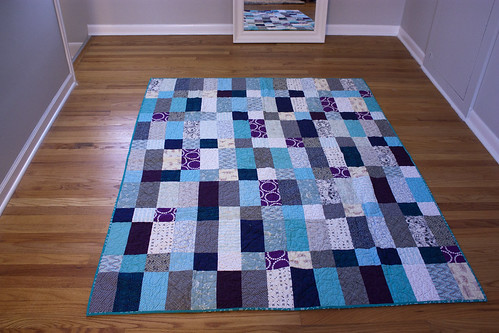
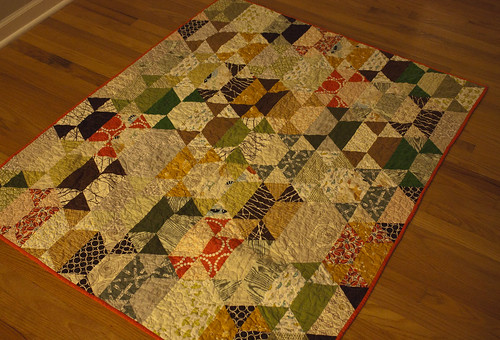
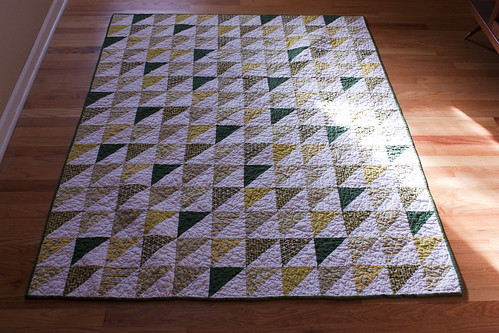
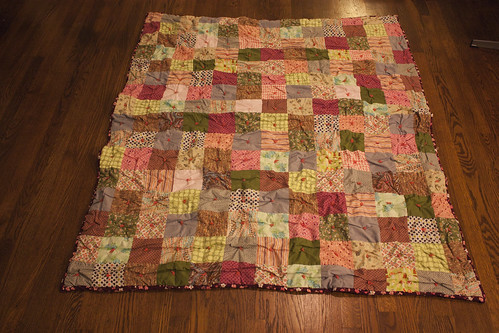
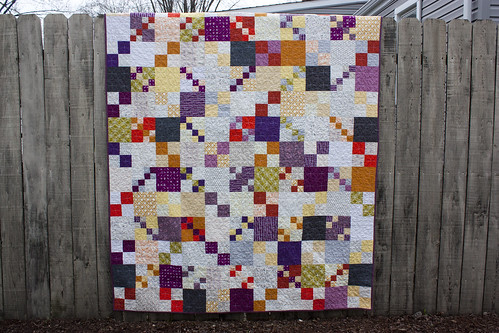
Six months and 12 bobbins of quilting thread later, the Penny Patch Quilt is finally finished! I made this twin-sized (66" x 90") quilt closely following the instructions on Stitched in Color's Penny Patch Quilt Along.

  Penny patch - piecing

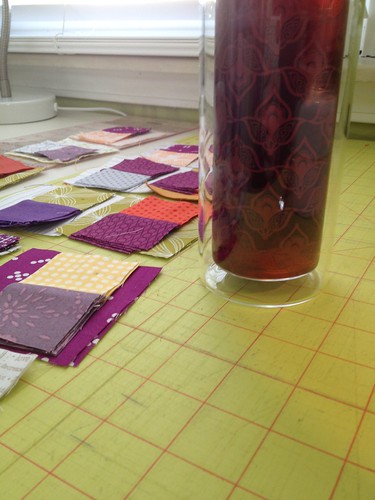
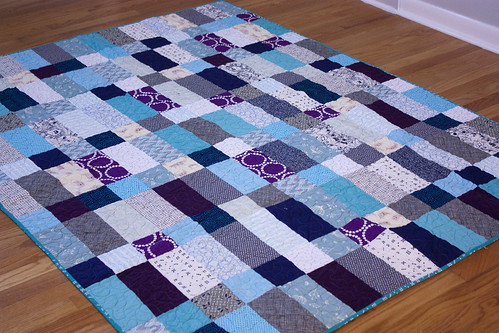
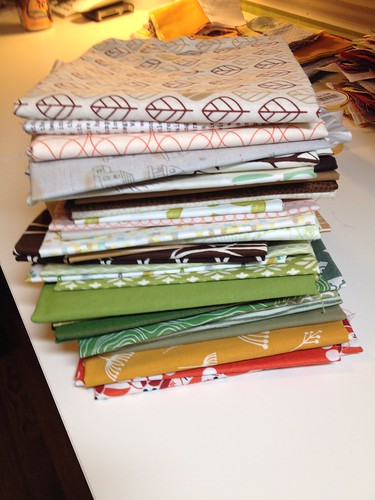
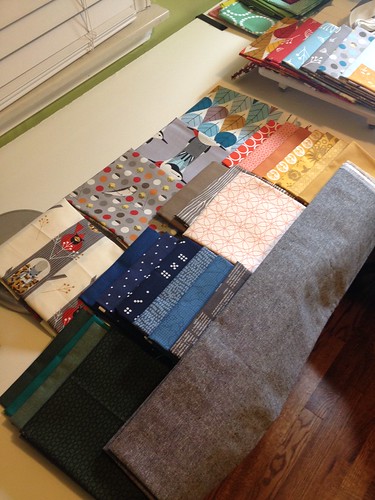
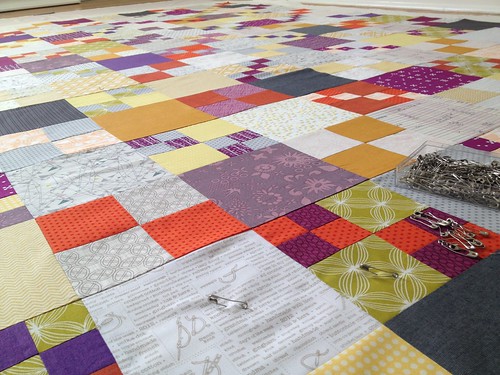
I spent an afternoon selecting, cutting and pairing fabric for each block back in October and then finally started piecing the top in January. I really like the mix of fabrics I chose for this, especially because I'm on a purple kick right now.

Penny Patch Quilt - Basting

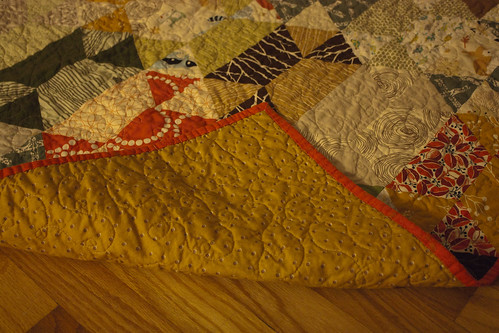
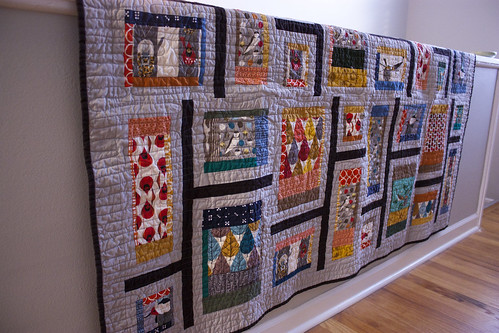
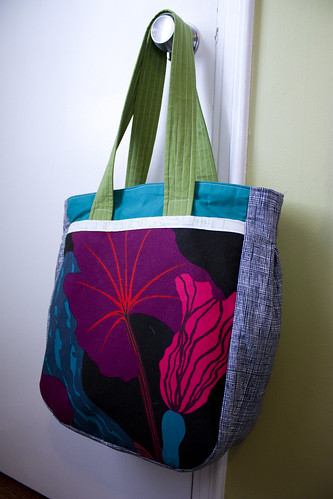
After the quilt was basted, it hung on my sewing room door for 2 months while I practiced doodling dogwood quilting during meetings and on phone calls.

Penny Patch Quilt - Basting

Penny Patch - dogwood quilting

Once the pattern finally clicked for me, it took a few weeks to pull out the big guns and attempt using my sewing machine. A week ago,  I finally took the plunge and quilted the first two lines on the quilt. It wasn't as bad as I thought it would be and I definitely shouldn't have procrastinated so long on this!

Penny Patch Quilt

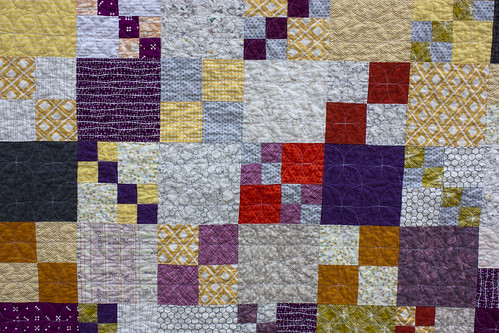
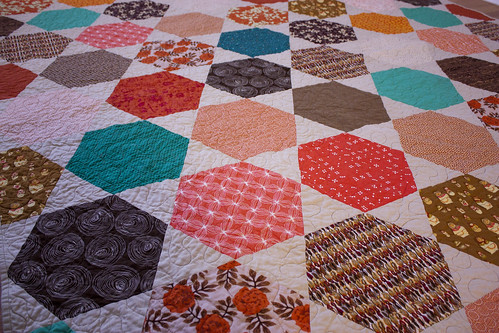
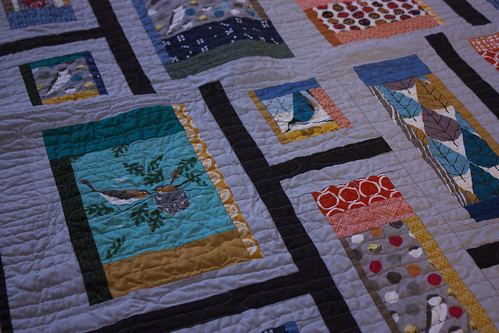
My dogwoods aren't anywhere near perfect and not one looks alike or is uniform in size, but I'm pleased with the overall look and I'm glad I reached outside of my comfort zone. My shoulders are still sore after all of the maneuvering, so it will be a while before I attempt a large scale free motion quilting job again.


Penny Patch Quilt

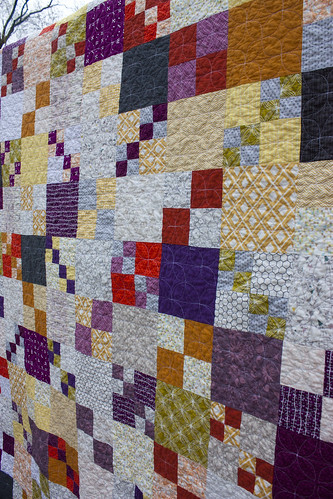
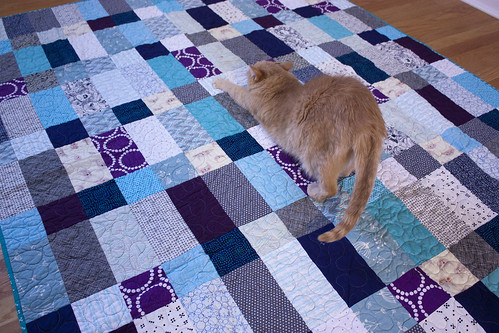
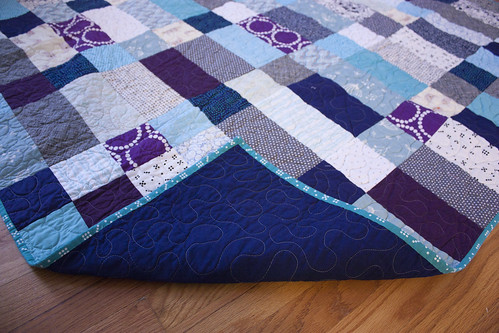
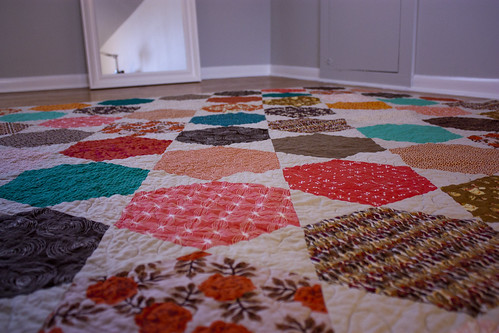
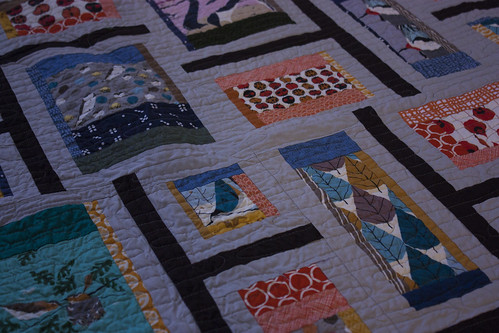
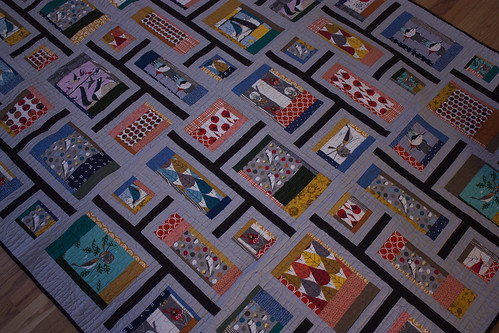
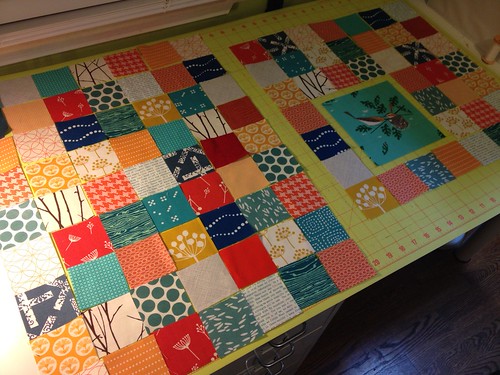
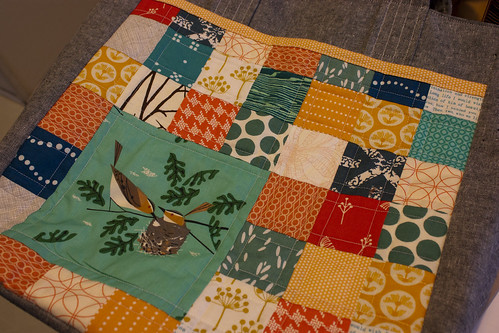
I modified the pattern in the tutorial a bit by adding alternating rows of four-patch blocks. The tutorial pattern used a checkerboard pattern of single square and penny patch blocks, but I added the four-patch blocks to try and avoid some of the stair-stepping patterns that you see above. If I were to make this quilt again or offer suggestions to other quilters interested in this pattern, I would use a selection of medium tone fabrics rather than a mix of low-volume and high-volume fabrics. I think it would lend to a more vintage look and avoid the stair step pops of high intensity colors. It's not as noticeable up close, but the "steps" do pop at a distance.


Penny Patch Quilt

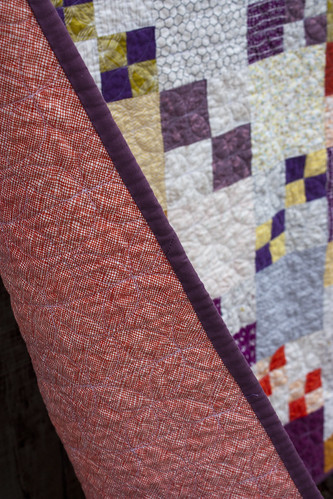
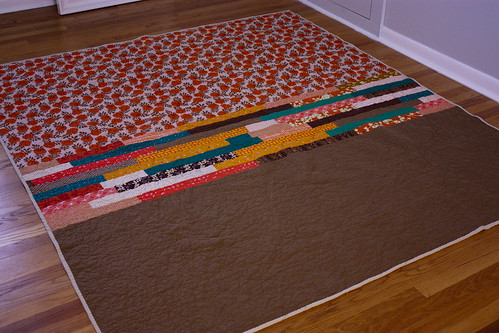
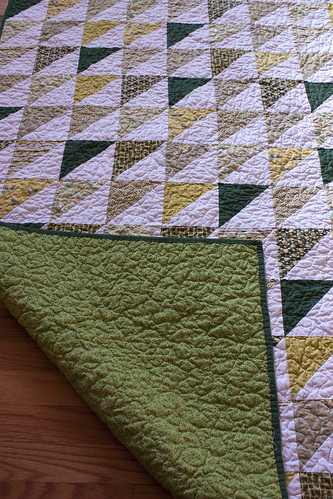
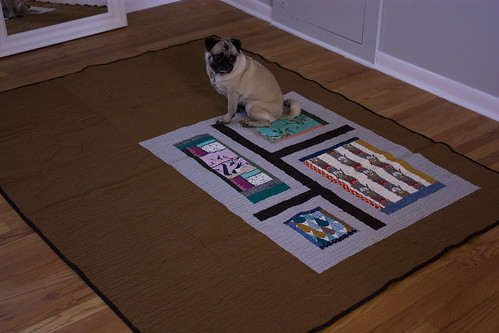
It's backed with Botanics cross hatch 108" wide fabric from Pink Castle Fabrics (a dream for someone who puts off the backing selection and construction until the last minute!)

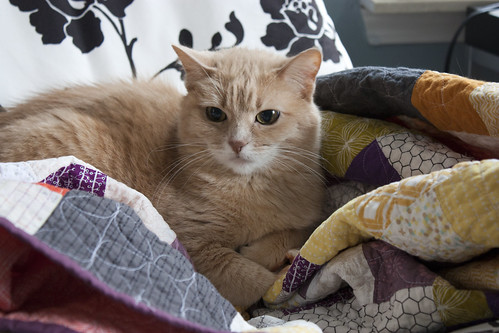
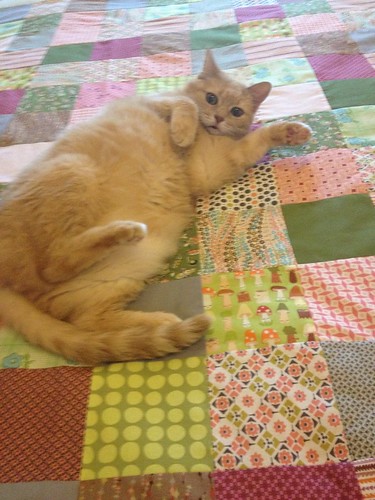
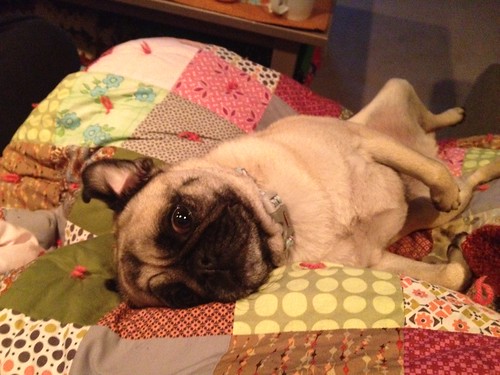
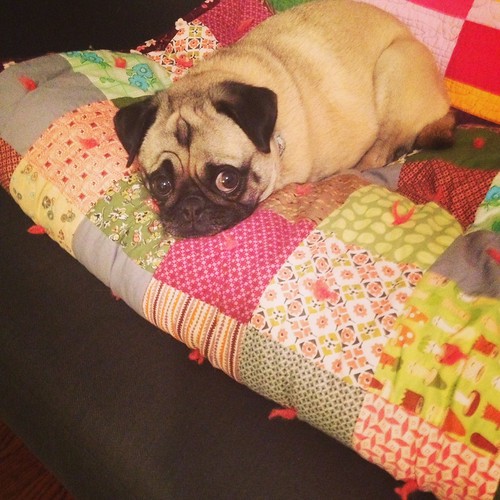
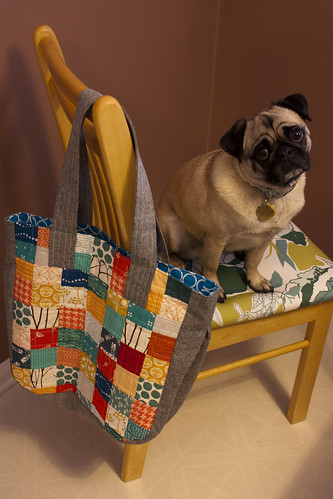
As soon as I pulled it out of the dryer and took pictures, I tossed the quilt on a chair. When I turned around, I found Nuku Nuku had already claimed her spot. I'm glad she loves this one as much as I do!

Nuku Nuku approves

Ruth's Graduation Quilt

Monday, April 21, 2014

Quilt for Ruth


My middle sister, Ruth, graduated from college last December. I, not so sneakily, asked her for her 3 favorite colors and she sent me a swatch with gray, light blue and royal blue. I pulled together a ton of fabrics in her palette and created a simple patchwork quilt based on this one I saw on Pinterest.


Quilt for Ruth

Ruth and her husband have 2 super sweet cats and a big dog, so I made sure to include some catnap fabric and some dog fabric in the mix.

Quilt for Ruth

The feline and canine cousins both gave this quilt the Craft family seal of approval!

IMG_9972

The backing is a solid royal blue, with meandering stippling in white thread. The whole quilt is about 64" x 80". My sister is super tall and this covers her up quite nicely.

Quilt for Ruth

Rosalie Quilt

Friday, April 18, 2014

Rosalie Quilt for Rachel

I've become slightly obsessed with hexagon designs lately. What I really want to make is a giant English paper pieced, Grandma's Flower Garden quilt, but because I don't want to devote that much time to hand sewing, I've settled on larger scale hexagon patterns. This particular quilt used the Rosalie pattern card from Valori Wells. I made the larger version, 78" x 86".

Rosalie Quilt for Rachel

I usually start my quilts by putting together a palette of fabrics I like. Then, I search for a pattern to use. Once I'm about halfway through a quilt, a potential recipient comes to mind. While I was sewing the top for this one, it kept reminding me of my youngest sister, Rachel. She usually gravitates toward these colors and has even tried to steal a few fabrics from my stash that ended up in this quilt.

Rosalie Quilt for Rachel

The large hexagons produced a lot of "waste" fabric, so I used the extra scrap strips to create a pieced back. My sister, Rachel, always house sits for us when we go away, so this was part of her gift for taking such good care of Koko, Nuku Nuku and our house.

Rosalie Quilt for Rachel

Quilts for Friends

Monday, April 14, 2014

Disco Quilt Basted

Our dear friends, Scott and Melissa, adopted a little baby boy last year and it took me until his first birthday to make him his own quilt. Scott and Melissa love nature and animals and camping, so I pulled together lots of fabrics with a woodland feel or palette into this quilt. I added a bit of the fabric from our guest room, where they stay often, to the quilt as a little personal touch (the brown leaves on the top of the stack below).

Disco Quilt Fabric

I used the Disco Quilt pattern from Jaybird Quilts and about 40 different fat eighths to make a scrappy patchwork quilt in the youth size. I'm pretty sure this was my first time pressing all seams open on a quilt. It definitely made for a flatter finished product without the extra bulk. My fingers didn't appreciate so many close calls with the iron, though!

Disco Quilt seams

I must have taken the three below pictures in the middle of a blackout. The colors in the top photos more closely reflect the true look of the quilt.

Disco Quilt

My one change to the pattern was to lop off the triangle points on the top and bottom of the quilt. I'm a fan of plain and simple edges. I quilted it with a meandering loop pattern.

Disco Quilt


The backing is a gold Juliana Horner pattern from Joann and the binding is from the Botanics line.

Disco Quilt

Melissa and Scott also have one of my blogging hiatus quilts, which was made in January 2013. I think this was mostly made up of Denyse Schmidt green prints and white Kona cotton, but my memory escapes me on this. I'll let the pictures do the talking...

HST Quilt

HST Quilt

HST Quilt

Charley Harper Quilt

Friday, April 11, 2014


Rapid City Quilt in Charley Harper Fabric

I fell in love with this Charley Harper fabric immediately, and I'm pretty sure I bought the entire collection the first day it was available. I didn't have a specific design or pattern in mind for it, so I searched for inspiration while waiting for the fabric to arrive.

Rapid City Quilt pattern from Modern Patchwork

When I checked out Elizabeth Hartman's book, Modern Patchwork, I was immediately struck by her Rapid City Quilt pattern. The pattern's aesthetic fits perfectly with the mid-century modern Charley Harper fabric, so it seemed like a perfect pairing.

Charley Harper Rapid City Quilt in Progress

Knowing that I was going to use the entire fabric collection in one quilt, I wanted to add my own selection of coordinating fabrics to make it more custom. The fabric line has two different color stories (blue/grey and orange/red), so I was also hoping to use these coordinating fabrics to tie the entire collection together.

Charley Harper Rapid City Quilt in Progress

Because the background grey that I used is very similar in value to some of the Charley Harper fabric backgrounds, I modified the pattern a bit. Each mini part of the block was fussy cut and the Charley Harper fabric was framed by coordinating fabric. The pattern, as written, only used four pieces of fabric for each smaller part of the block.  All of the rest of the dimensions in the quilt follow the pattern exactly.

Rapid City Quilt in Charley Harper Fabric

Rapid City Quilt in Charley Harper Fabric

Rapid City Quilt in Charley Harper Fabric

Charley Harper Quilt Back

The backing also followed the pattern, with the fussy cut modification for the for parts of the feature block.

Rapid City Quilt in Charley Harper Fabric

I followed the quilting guidelines in the pattern, which is based on Modern Quilt Studio's signature free motion pattern (also used previously on my Plain Spoken Quilt). I was nervous to start quilting this one, because it had taken so much time to develop the top and I was worried about ruining the overall design, but I'm super happy with the finished product!


Putting this quilt together was so much fun. It felt like I was making 64 mini quilts as I worked on the smaller portion of each block. As the blocks were combined into larger pieces, it was great to see how everything was coming together and unfolding. Lots and lots of pressing and squaring up went into this. I've finally realized that taking time to properly press and square up smaller portions of my quilts results in a much neater finished project and makes everything so satisfying! It was definitely time consuming, but I've found that the quilts for which I put in the most work, are usually my favorite.


Adventures with Wool Batting

Thursday, January 30, 2014

My mom, thrifter, DIY guru, and now blogger, found 100% wool, farm grown quilt batting at a garage sale a few summers ago for $2. She gave it to me and it lived in my basement for a while before I used it in a quilt.

Patchwork Quilt with wool batting

I pulled a random selection of pink and green scraps and made a charm square top channeling Posy Gets Cozy's projects to the best of my ability. I wanted a really vintage looking quilt and I thought this style would pair well with thick wool batting.

Patchwork Quilt with wool batting

Basting the quilt was quite the adventure because the batting was so lofty. At some points, it was about two inches thick. I originally wanted to quilt diagonal lines with my sewing machine's walking foot. After I attempted one line, I realized that it would cause too much puckering and would be difficult to fit through the throat of my machine.

Patchwork Quilt with wool batting

I changed things up and used some leftover worsted weight wool yarn to tie the center of each square. (Hint: if you use a long enough piece of yarn, you don't have to re-thread the needle for each square!). Here's a great tutorial for tying a quilt that I wish I had seen before attempting this sans directions.

After it was tied, I added a double fold binding. I ended up having to use 4.5" wide strips for the quilt because the batting was so thick.

Patchwork Quilt with wool batting

I tempted fate by using the gentle wool wash cycle on my front loader and everything came out great. Then I laid the quilt flat to dry for a few days. This turned out to be the heaviest, warmest, coziest quilt I've ever made and we always have to share it with Koko and Nuku Nuku.

Patchwork Quilt with wool batting

A couple weeks ago, it was starting to look and smell a little bit too much like fur for my taste, so I threw it in the wash. For some reason, I wasn't thinking when I threw it into the dryer for a few minutes to fluff it up. After 5 minutes in the dryer, I pulled it out only to find that it had shrunk significantly. This was so disappointing! Now I have a super puckery, felted wool quilt. I can't believe I was so careless, especially after always treating my handknits so kindly.

patchwork quilt - after shrinking

I'm afraid this may be Koko's new crate quilt as she is such a fan of the wool fumes in this. I definitely want to make another hand-tied wool quilt, but I've got to get over the wounds this left behind first...

Super Totes

Monday, January 27, 2014

I first learned about the Super Tote pattern after seeing Sarah's in person. I still kind of want to steal Sarah's bag because I am smitten with the typewriter fabric she used!

Super Tote

I made my first version based around a Marimekko print I've been hoarding for a few years. I made a few changes to the pattern, including eliminating the inner zip pocket and outer magnetic closure, and adding bias tape along the outer pocket instead of piping.

I was happy with everything about this bag, except the inner pockets. As written they were too flimsy and didn't have any extra lining or interfacing. In my next version, I folded the pocket fabric in half (right sides showing) when cutting out the pattern piece, ironed on interfacing to the inside of the pocket fabric and then followed the pattern as written. The pocket is now lined and is much sturdier.

Charley Harper Super Tote

Charley Harper Super Tote

Charley Harper Super Tote

My second version came about during an evening of stash folding. I pulled out this cute Charley Harper fabric and created a 2x2 grid of patchwork based on the focal bird print. I quilted the front pocket and the back bag panel before following the instructions as written.

Charley Harper Super Tote

I was able to give this bag to my dear friend, Catherine, on her Christmas break visit from Germany. She's a science teacher and has lots to lug around, so this bag fits the bill perfectly!

Charley Harper Super Tote

Now I'm considering making a giant 2x2 patchwork quilt because I love the look of all these fun prints together.

Charley Harper Super Tote
(gratuitous Koko shot with the back of the bag)

Blogger Template created by Just Blog It